Basic zsh Developer Shell Setup for a New M1 Mac
edit ✏️These are notes about my personal setup for a new macOS computer. Some of the instructions might be incorrect for your environment
Getting Started
You’ll need several things installed on your machine to proceed with configuring zsh beyond the defaults.
- Xcode Command Line Tools: just run
xcode-select --install. This is an SDK and tool for development in the command line environment. Lots of things depend on it and it’s essential. - homebrew: https://brew.sh/ is the community standard package manager for macOS and des a lot of work installing and managing libraries and tools within your shell environment.
- git: https://git-scm.com/download/mac you want the latest version of git
- zsh: short for Z shell, is the default login and interactice shell for macOS as of 2019 with the relase of Catalina . We’re gonna set it up nice.
Take care of Xcode and homebrew, then we’ll configure git and zsh (with oh-my-zsh)
Let’s get started!
Set up git
Setup your credentials:
git config --global user.name "Firstname Lastname"
git config --global user.email "username@myEmail.com"
When you run these commands a .gitconfig is set up in your home folder cd ~.
Mine looks like this and I store it in a gist for future reference:
[user]
	email = joelhooks@gmail.com
	name = Joel Hooks
[core]
	excludesfile = /Users/joel/.gitignore
	editor = code
[init]
	defaultBranch = main
[pull]
	rebase = false
[alias]
	co = checkout
You’ll notice a few options are set. The excludesFile option lets me have a
global .gitignore which looks like this:
.DS_Store
.idea
Now these pesky local files will never get added to my repositories.
I’ve set my preferred editor, how I prefer to handle pull requests,
a defaultBranch name, and a single alias. Aliases are actually super handy and
can be very powerful so I
recommend reading further
.
All of the settings in .gitconfig can be set using git config --global [...]
, but editing the text file makes it quicker to set many all at once.
zsh
By default zsh is very capable and provides many improvements over bash (the previous macOS default). Notably it provides a comprhensive command-line completion system that can save a lot of time when you’re working in the terminal.
Beyond the basics, there are several things that I like to add to my default zsh configuration immediately.
oh-my-zsh
oh-my-zsh is an open-source configuration framework and manager for zsh. oh-my-zsh gives you access to a trove of useful plugins and is essential if you’re running zsh as your shell.
Installation instructions can be found here: https://ohmyz.sh/
Once zsh is installed, it needs some configuration. We are going to add a few plugins.
Open the config file:
open .zshrcAmong other things, oh-my-zsh gives you the ability to apply themes. They have many to choose from. I use the default theme personally, but you can explore. The configuration file is well documented. The major changes for me are adding plugins and some path work for my development environment.
pure prompt
The default prompt for zsh is hideous in my opinion and needs to be instantly changed. I use the Pure prompt because it’s simple, compact, and provides useful information for my development workflow.
https://github.com/sindresorhus/pure
I don’t do a lot of custom configuration of pure prompt in general, but I did
need to add the following to the bottom of my ~.zshrc configuration to git it
to run after installation as instructed by the documentation:
autoload -U promptinit; promptinit
prompt pure
I also ran into path issue and had to manually install pure and direct zsh to the manually installed location. Hopefully you can avoid this on your machine.
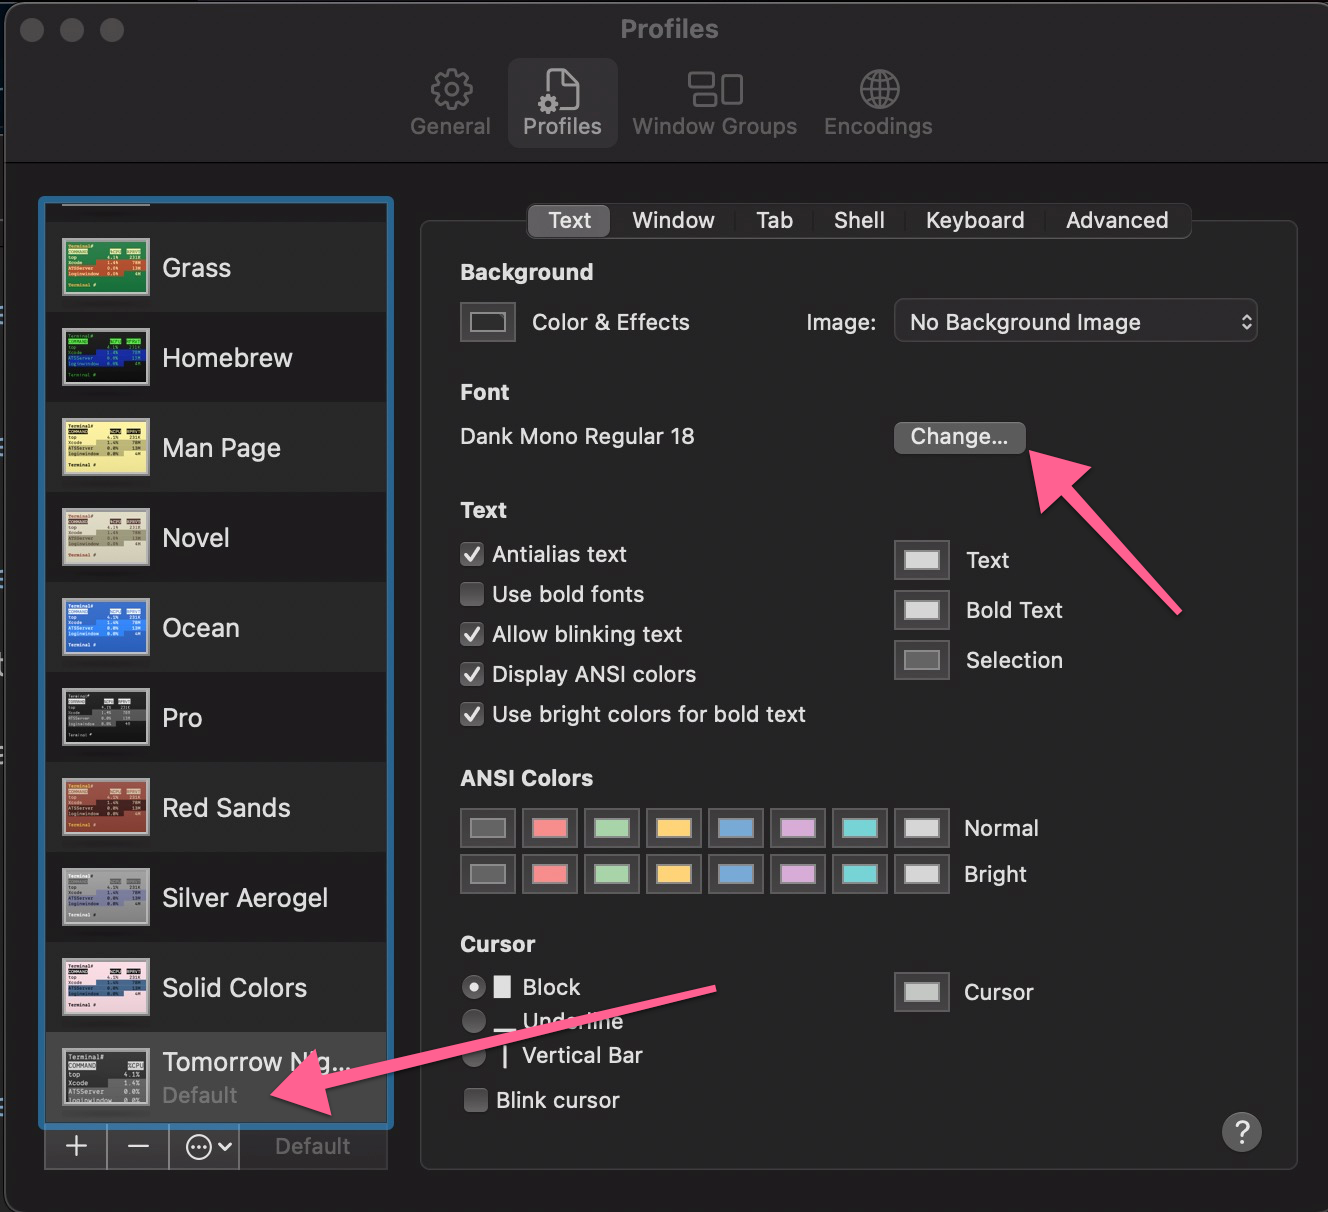
Pure looks good by itself, but I also like to colorize my terminal and add a nicer font. Color schemes and fonts tend to be personal choices, but I like Tomorrow Night Eighties for color and Dank Mono for the font.
File>Save as this file and open it to add the Tomorrow Night *0s color scheme to Terminal. In the Terminal app preferences you might need to set it as the default theme for Terminal. You can also change the font here and set a larger text size.
zsh-syntax-highlight
This is a great plugin that gives some colorized feedback to your shell commands. Here are the oh-my-zsh setup instructions
My final plugin setup looks like this:
plugins=(git rails ruby history emoji encode64 jsontools macos zsh-syntax-highlighting)You can look up the other plugins and all of the available plugins (there is a
shitload) that might suit your personal needs. Here’s my final .zshrc for my
environment (it’s probably not cut and paste compatible for your machine)
export PATH=$HOME/bin:/usr/local/bin:$PATH
export ZSH=$HOME/.oh-my-zsh
ZSH_THEME="robbyrussell"

plugins=(git rails ruby history emoji encode64 jsontools macos zsh-syntax-highlighting)

source $ZSH/oh-my-zsh.sh

# Pure prompt plugin loader
fpath+=$HOME/.zsh/pure
autoload -U promptinit; promptinit
prompt pure
What’s Next?
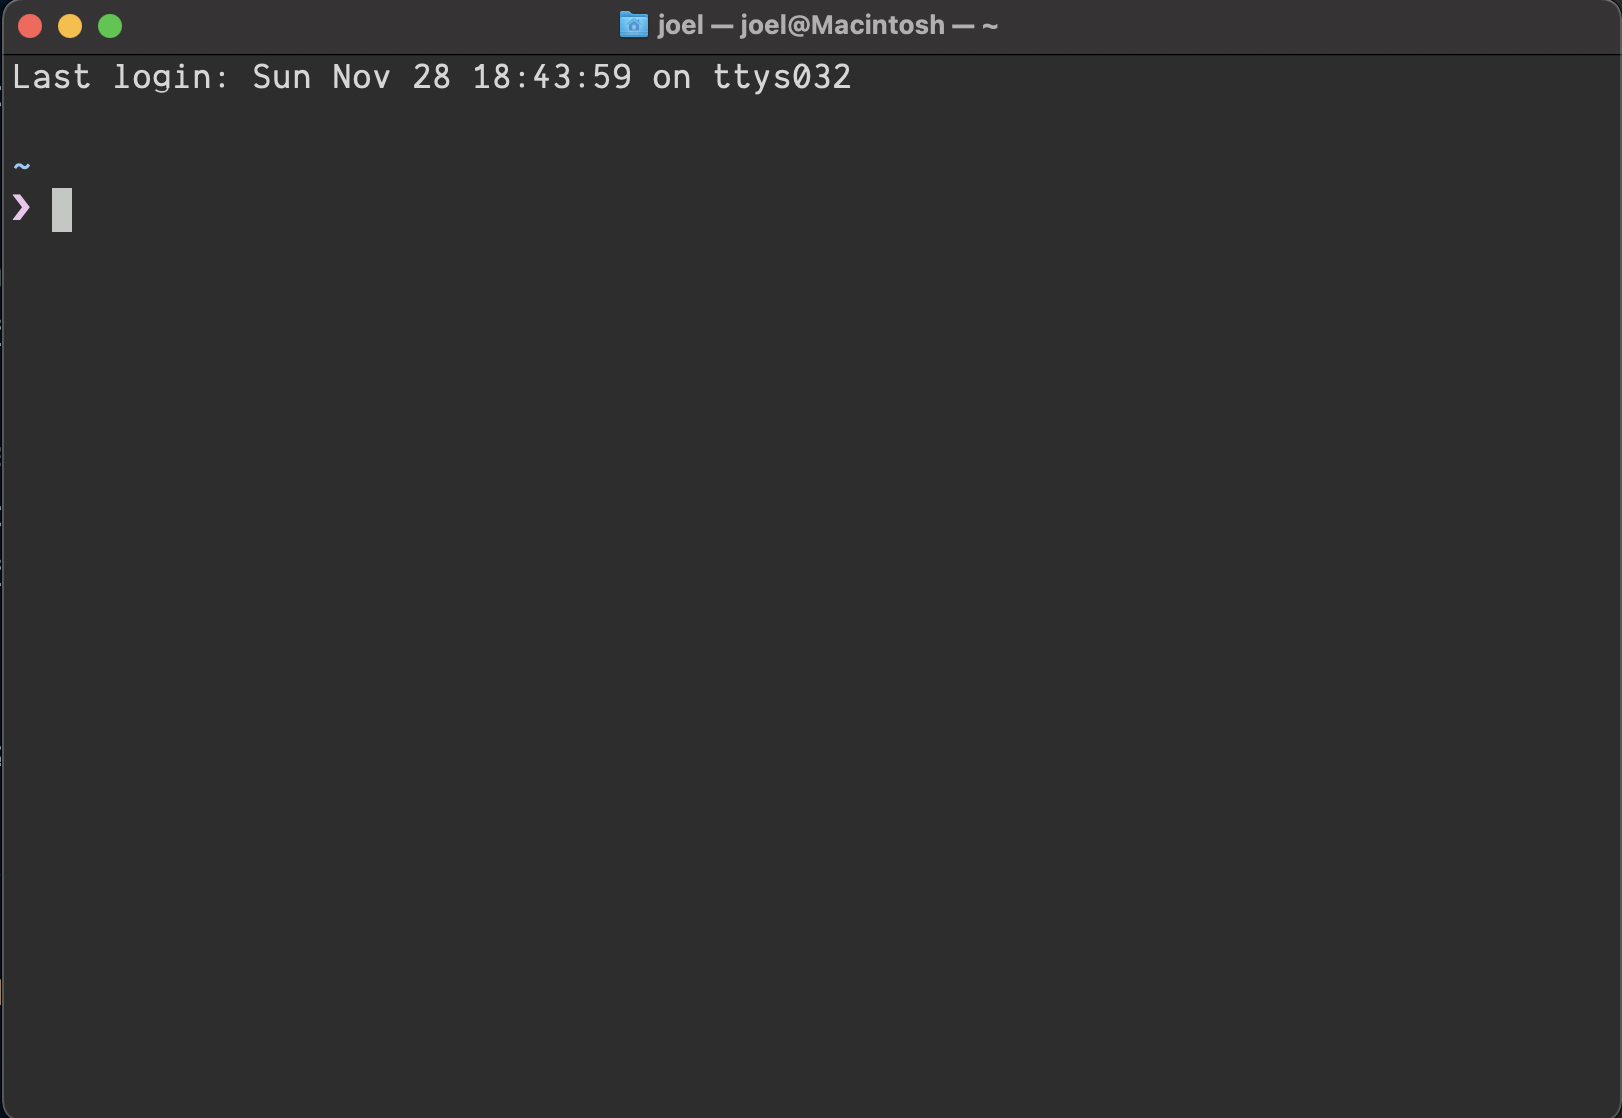
The reveal is anti-climactic BUT at this point you’ve got a powerful shell environment that looks nice and will grow with you as you personalize it for your own needs.
Here’s how it looks: